Weapons
|
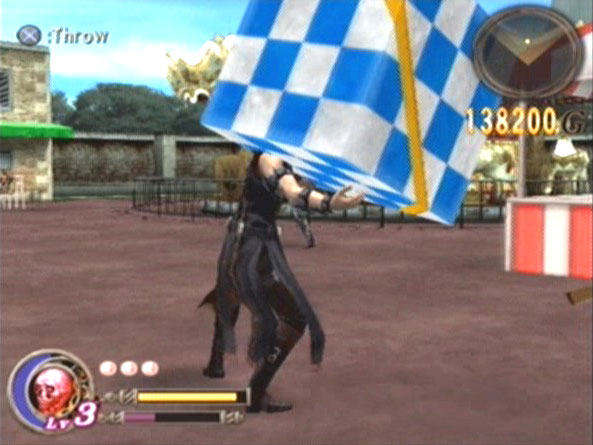
Crate Crates are everywhere throughout the game. They may not do much damage but as 'projectiles' they can still prove handy. |
 |
Barrel Barrels are everywhere throughout the game. They may not do much damage but as 'projectiles' they can still prove handy. |
 |
Pots Pots are everywhere throughout the game. They may not do much damage but as 'projectiles' they can still prove handy. |
 |
Wood Post You can a number of these throughout the game. They can last as much as 3 launches (/\) + 1 throw (X). |
 |
Steel Pipe The steel pipes are the average weapon and you won't find very many of them anyway. |
 |
Mallet The mallet is one of the most common and useful weapons in the game. You'll often find them in the hands of enemies so you might want to steal it from them. =P |
 |
Explosive Can / Oil Drum The explosive cans are very useful against a group of enemies. The only thing you have to watch out for is the distance from which you throw them or you may hurt yourself as well. |
 |
Spiked Club The spiked club (aka gold club) is the best weapon in the game if you ask me. The only way to find and use these is to pick up/steal them from enemies who come with them. You can force those enemies to drop them by dizzying/stunning them (with Ball Buster/Chain Yanker for example). |
 |
Torch These don't whack out much damage but nontheless they're good for throwing. You find most of these in stages 2 and 6. |
 |
Lamp Post Unfortunately, you only find these in stage 2-3 (the giant enemy crane area). They help greatly against the many waves of enemies there, including the cranes. |
 |
Box These are no different from the crates/barrels. They only replace them in stage 3. |
 |
Umbrella These are very weak and slow to perform. They're best used only for immediate throwing to lure single enemies over. |
 |
Bus Sign The bus sign only appears once in the game, which is in stage 2-2 against Gorilla Mask. |
 |
Beach Balls These are no different from crates/barrels/pots, only, you'll only find them in the battlefield against Shannon in stage 3 and the area before it. |
 |
Mini Platforms These are no different from crates/barrels/pots, only, you'll only find them in the battlefield against Shannon in stage 3 and the area before it. |
 |
Electric Rod These are very rare and you'll get them only from enemies. They're stronger than steel pipes and are likely to be closer to the mallets. |
 |
Rocket Launcher The rocket launcher is the only weapon in which you can 'throw' twice. Pressing X once will fire the rocket, pressing X again after that will throw the body. The rocket inflicts splash damage like the explosive cans, but the launcher body is neither very damaging nor durable. |
 |
Trident The tridents are as rare as the enemy that drops it - the Trident Demon. They are highly damaging and have very long reach, but they barely last a few hits. |
 |
Metal Pole These only appear in stage 6 and are averagely useful. |
 |
Brazier These only appear in stage 6 and are averagely useful. In stage 6-1, they're useful for launching enemies off the edge. |
 |
Katana The katanas are likely to be the next best weapon in the game. They have long reach and can be found from both breakables and enemies. |
 |
Cutlass These are dropped by the skinny thugs in stage 7. They are as useful as the katanas, only with a slightly shorter reach. |
 |
Paper Fan These are found only in the fighting ring under challenge #17. They're practically a joke (based on Japanese anime culture) and will prove very un-useful. (LOL) [If you want to witness the 'power' of a paper fan, watch the Full Metal Panic series] |
 |